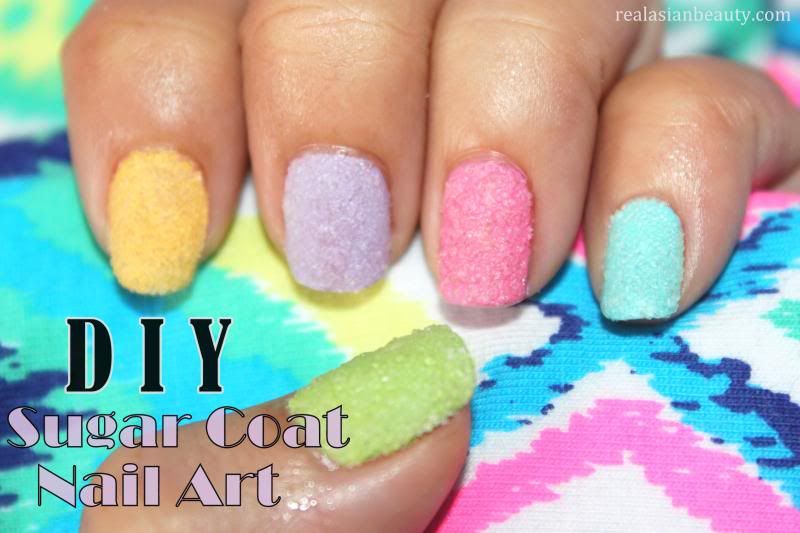
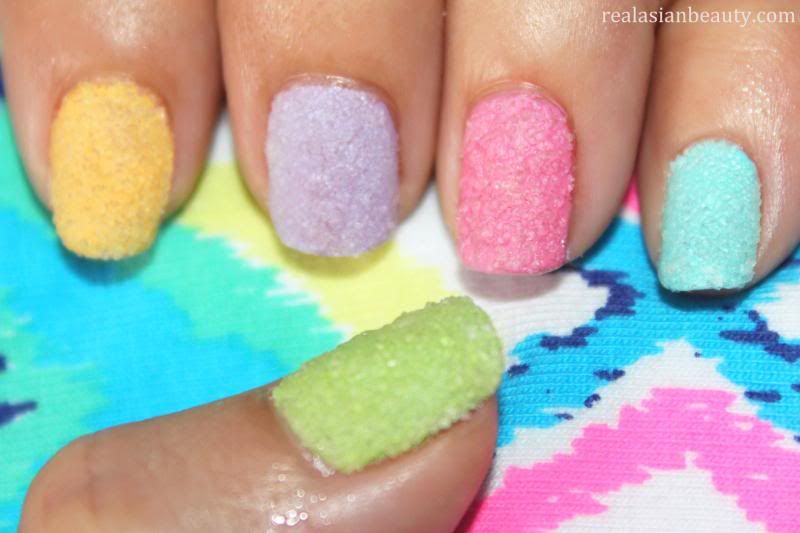
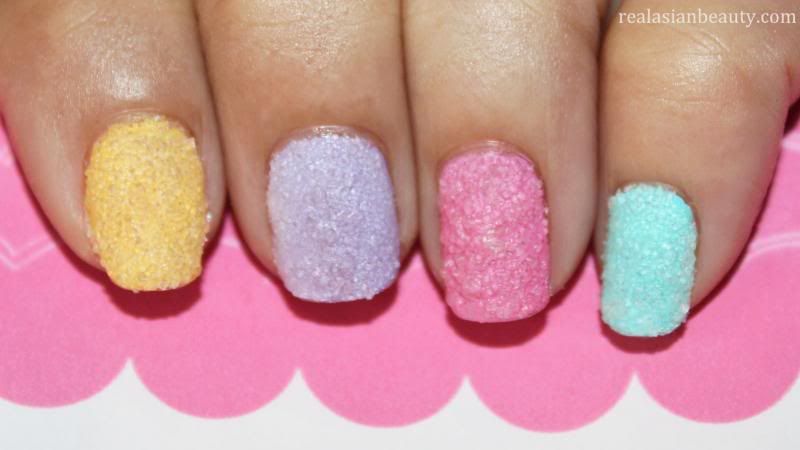
People these days are so creative! From the cracking nail polish to the caviar nail art down to the flocking nail powder, the ideas are awesome! Have you heard of the "Sugar Coat" nail polish that is very hot these days? It's really pretty and very easy to apply on your own nails. But the problem is that it may be too pricey for just a single polish. So my solution? As always, Do It Yourself! :)
This nail art is very similar to the Salt Nail Art I did months ago. Half of the questions I get from that video (aside from the silly one about ants wanting to eat my nails. lol) are from people asking if they can use Sugar instead of salt.
I'm not sure if some households still don't have salt these days. (lol) But just to answer your questions, here it is! SUGAR nail art! :)
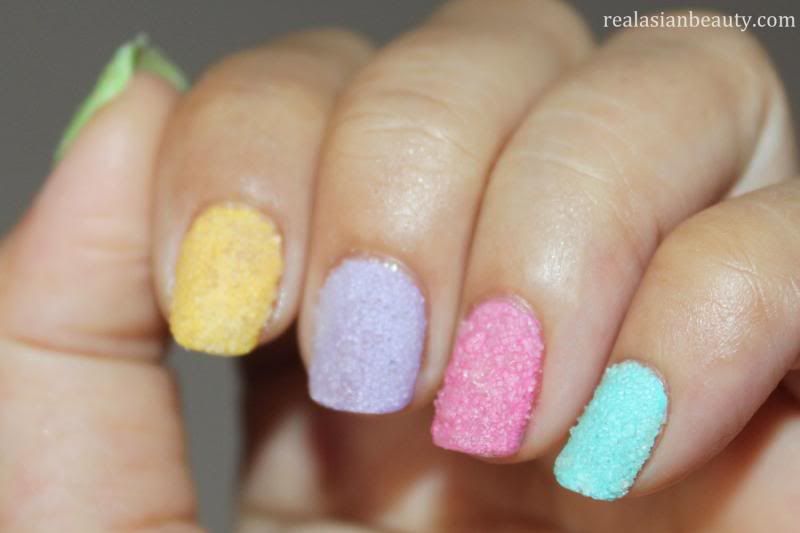
Don't you just love how it looks 95% like the Sugar Coat Nail Polish from Sally Hansen?
For this design, you will need white sugar. White, not brown or any other kind of sugar. We use white one so that the sugar becomes transparent later when it dissolves and to make the base polish's color pop out.
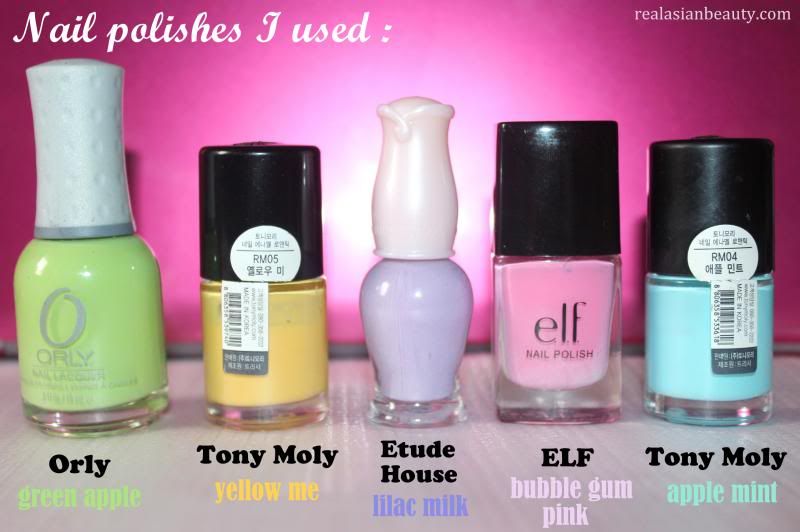
Here's what you need :
Watch the tutorial here :
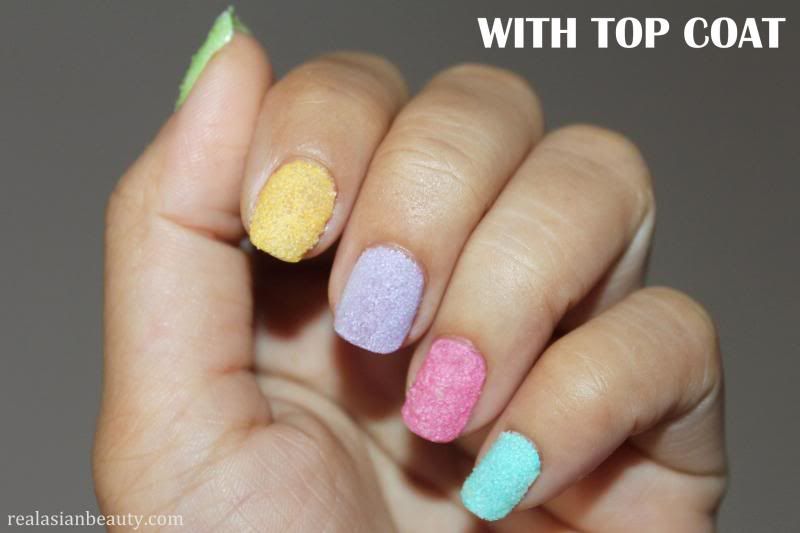
I know many are going to ask if they can skip the top coat. Here's how the nails look without and with top coat.
Applying top coat will make the sugar dissolve a little and give texture to your nails. Also, if you decide the skip the top coat, chances are the sugar will just fall off eventually thus ruin the entire thing.
Another FAQ : Won't ants eat your nails because you have sugar on your nails?
NO! Because you already applied top coat, you basically sealed everything and turned the sugar from being sweet to tasting like nail polish. So I doubt any ant would want to eat sugar that tastes like nail polish.
This design doesn't last for too long. Mine only lasted for 2 days. Which was okay since I didn't spend a lot of money nor time in doing this design. So, everything's cool! :)
I hope you like this nail art! Leave your comments and thoughts below!
♥
